If your hips feel stiff after weeks, months, or even years of sitting too much, reduced exercise, injury recovery, or a generally inactive lifestyle, you’re not alone. The hips are one of the first areas of the body to “lock up” when movement becomes limited. Because the hip joint is deeply involved in walking, standing, bending, climbing stairs, and even posture, stiffness here can affect your lower back, knees, and overall mobility.
The good news? Gentle yoga can help restore hip mobility safely and gradually. The key is not to force flexibility, but to encourage circulation, joint movement, and soft tissue release. When practiced consistently, the right yoga poses can help your hips move more freely, reduce discomfort, and rebuild confidence in your body.
In this article, we’ll explore why hips become stiff after long inactivity, the benefits of yoga for hip mobility, and the best yoga poses to help wake your hips back up—without overwhelming them.
Why Hips Become Stiff After Long Inactivity
Your hips are ball-and-socket joints designed for a wide range of motion. But when you spend long periods sitting, lying down, or avoiding movement, the muscles and connective tissues around the hips can tighten. Common areas that become restricted include:
- Hip flexors (front of the hips)
- Glutes (buttock muscles)
- Piriformis and deep rotators
- Inner thighs (adductors)
- Hamstrings
- Lower back and pelvis stabilizers
Long inactivity can lead to:
- Reduced circulation in the hip area
- Tight fascia and shortened muscles
- Weak glutes and core muscles
- Poor posture and pelvic misalignment
- Compensatory pain in the knees or lower back
This is why many people notice not just “tight hips,” but also aching lower backs, awkward walking, and discomfort when standing up after sitting.
How Yoga Helps Restore Hip Mobility
Yoga is especially effective for reintroducing movement because it combines:
- Gentle stretching to lengthen tight muscles
- Controlled breathing to reduce tension and guarding
- Strength-building in stabilizing muscles
- Joint mobility through safe ranges of motion
- Mind-body awareness so you can distinguish discomfort from pain
Unlike aggressive stretching, yoga encourages gradual opening. This matters because inactive hips often need both mobility (movement at the joint) and stability (support from muscles). If you only stretch without strengthening, you may feel unstable. If you only strengthen without mobility, movement can remain restricted.
Important Tips Before You Start
Before practicing hip-opening yoga after long inactivity, keep these guidelines in mind:
1. Warm up first
Even 3–5 minutes of light movement helps. Try:
- Marching in place
- Gentle walking
- Cat-Cow
- Pelvic tilts
2. Move slowly
Your goal is to reintroduce motion, not to achieve deep flexibility immediately.
3. Use props
Blocks, cushions, folded blankets, or pillows can make poses safer and more comfortable.
4. Breathe deeply
If you hold your breath, your muscles often tighten. Slow breathing tells your nervous system it’s safe to release.
5. Stop sharp pain
A stretching sensation is okay. Sharp, pinching, numb, or stabbing pain is not.
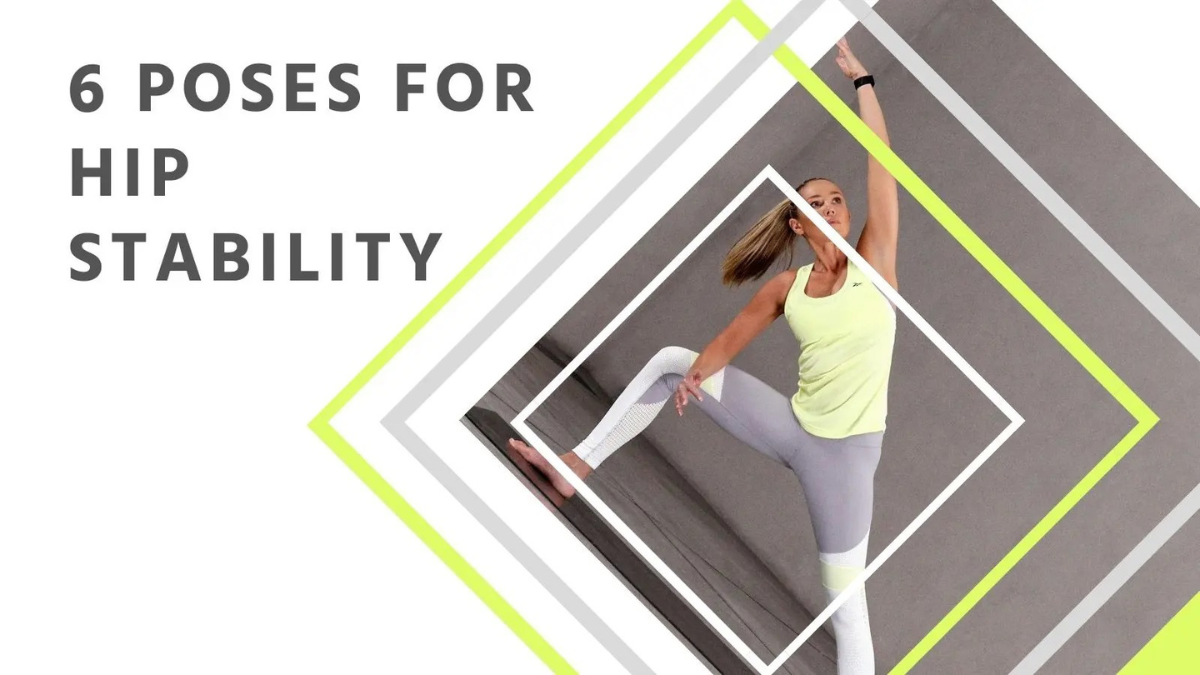
10 Yoga Poses That Help Hips Move After Long Inactivity
Below are the most effective beginner-friendly yoga poses for stiff hips. Hold each pose for 5–10 slow breaths, unless otherwise noted.
1. Cat-Cow Pose (Marjaryasana-Bitilasana)
Although this isn’t a direct hip opener, it gently mobilizes the pelvis and lower spine, which strongly influence hip movement.
How to do it:
- Start on hands and knees.
- Inhale: arch your back, lift your chest and tailbone (Cow).
- Exhale: round your spine, tuck your chin and pelvis (Cat).
- Repeat slowly for 8–10 rounds.
Why it helps:
- Loosens the pelvis
- Improves spinal mobility
- Reduces lower-back tension linked to tight hips
Tip:
Place a folded blanket under your knees if needed.
2. Child’s Pose (Balasana) with Knees Wide
This gentle resting pose opens the inner hips while calming the nervous system.
How to do it:
- Kneel on the floor.
- Bring your big toes together and widen your knees comfortably.
- Sit back toward your heels.
- Fold your torso forward and rest your arms in front or by your sides.
Why it helps:
- Gently opens hips and inner thighs
- Relieves pelvic and low-back tension
- Creates a safe, non-threatening stretch for stiff bodies
Modification:
Place a pillow or bolster under your chest if you can’t comfortably fold forward.
3. Low Lunge (Anjaneyasana)
Long inactivity often shortens the hip flexors, especially if you sit a lot. Low Lunge targets the front of the hips.
How to do it:
- From hands and knees, step one foot forward between your hands.
- Keep the back knee down.
- Shift your hips forward slightly until you feel a stretch in the front of the back hip.
- Keep your torso upright or rest hands on the front thigh.
Why it helps:
- Stretches tight hip flexors
- Improves walking mechanics
- Helps counteract prolonged sitting
Tip:
Avoid dumping into the lower back. Gently engage your core and keep the pelvis neutral.
4. Half Split (Ardha Hanumanasana)
This pose complements Low Lunge by stretching the hamstrings and encouraging hip hinging.
How to do it:
- From Low Lunge, shift your hips back.
- Straighten the front leg as much as comfortable.
- Flex the front foot.
- Keep your hands on the floor, blocks, or thigh.
Why it helps:
- Lengthens hamstrings
- Encourages balanced hip movement
- Improves the ability to bend and walk more freely
Modification:
Keep a soft bend in the front knee if the stretch feels too intense.
5. Bound Angle Pose (Baddha Konasana)
A classic seated hip opener, this pose targets the inner thighs and groin.
How to do it:
- Sit on the floor.
- Bring the soles of your feet together.
- Let your knees fall outward.
- Sit tall and hold your feet or ankles.
Why it helps:
- Opens adductors and groin muscles
- Encourages external hip rotation
- Helps improve sitting and standing transitions
Tip:
Sit on a folded blanket if your lower back rounds. Place blocks or cushions under your knees for support.
6. Figure Four Stretch (Reclined or Seated)
This is one of the best poses for the outer hips and glutes, especially when tightness affects walking or causes buttock discomfort.
How to do it (reclined version):
- Lie on your back with knees bent.
- Cross your right ankle over your left thigh, forming a “4.”
- Stay here, or lift the left foot and draw the legs toward you.
Why it helps:
- Releases glutes and piriformis
- Improves external rotation
- Can ease tension associated with prolonged sitting
Modification:
If lifting the legs is too much, keep the bottom foot on the floor.
7. Supine Windshield Wipers
This is a gentle, dynamic hip rotation exercise that’s especially helpful for reintroducing movement.
How to do it:
- Lie on your back with knees bent and feet wider than hips.
- Let both knees slowly drop to one side.
- Bring them back to center.
- Drop them to the other side.
- Repeat for 10–16 slow repetitions.
Why it helps:
- Restores internal and external hip rotation
- Lubricates the joint
- Feels less intimidating than static stretching
Tip:
Keep the movement small at first. Range of motion will improve over time.
8. Pigeon Pose (Modified or Reclined)
Traditional Pigeon can be intense, so beginners should start with a modified version or stick with reclined Figure Four.
How to do it (modified):
- From hands and knees, bring one knee forward toward the same-side wrist.
- Angle the shin comfortably.
- Extend the back leg behind you.
- Stay upright or fold forward slightly.
Why it helps:
- Deeply stretches outer hip and glutes
- Improves hip rotation
- Helps address long-term sitting tightness
Important:
If you feel knee pain, come out immediately. Reclined Figure Four is a safer alternative for many people.
9. Garland Pose (Malasana) – Supported
A deep squat is one of the most natural human positions, but long inactivity often makes it difficult. A supported version can be transformative.
How to do it:
- Stand with feet wider than hips, toes slightly turned out.
- Bend your knees and lower into a squat as far as comfortable.
- Keep heels down if possible.
- Use a yoga block, stool, or stack of cushions under your hips for support.
Why it helps:
- Opens hips, ankles, and groin
- Strengthens legs while improving mobility
- Rebuilds natural movement patterns
Modification:
Hold onto a stable surface (like the back of a chair) if balance is an issue.
10. Happy Baby Pose (Ananda Balasana)
This playful pose provides gentle decompression and hip opening without weight-bearing.
How to do it:
- Lie on your back.
- Bring your knees toward your chest.
- Hold the outsides of your feet, ankles, or shins.
- Let your knees move toward your armpits.
Why it helps:
- Opens inner hips and groin
- Relaxes the lower back
- Encourages a safe range of hip flexion
Tip:
If reaching your feet is difficult, hold behind your thighs or use a strap.
A Simple 15-Minute Hip Mobility Yoga Routine
If you want a practical sequence, try this:
- Cat-Cow – 1 minute
- Child’s Pose (wide knees) – 1 minute
- Low Lunge – 1 minute each side
- Half Split – 45 seconds each side
- Bound Angle Pose – 1–2 minutes
- Reclined Figure Four – 1 minute each side
- Supine Windshield Wipers – 1 minute
- Supported Garland Pose – 1 minute
- Happy Baby – 1 minute
- Rest on your back and breathe – 1–2 minutes
Practice this 3–5 times per week for best results.
How Long Until You Notice Improvement?
Many people feel some relief after the first session, especially if their stiffness is mild. But real change usually happens with consistency:
- 1–2 weeks: Less “stuck” feeling when standing or walking
- 3–4 weeks: Better range of motion and reduced lower-back tension
- 6–8 weeks: Noticeable improvement in mobility, posture, and comfort
The secret is regular, gentle practice—not pushing hard once in a while.
Common Mistakes to Avoid
When trying to loosen inactive hips, avoid these common mistakes:
1. Forcing deep stretches
This can cause muscle guarding or irritation.
2. Skipping strength work
Hips need support from glutes and core, not just flexibility.
3. Ignoring pain signals
Pinching in the front of the hip or knee pain means adjust or stop.
4. Holding your breath
Breath helps muscles release.
5. Being inconsistent
A little often works better than a lot occasionally.
Conclusion
Stiff hips after long inactivity are incredibly common, but they’re not permanent. With patience, gentle yoga can help restore motion, reduce discomfort, and reconnect you with movements that once felt natural. The best approach is to start small, use supportive props, and focus on consistency rather than intensity.
Poses like Low Lunge, Bound Angle, Figure Four, Supported Garland, and Happy Baby can gradually unlock tight muscles and improve the way your hips function in everyday life. Over time, better hip mobility can also support your lower back, improve posture, make walking easier, and help you feel more confident moving again.
Remember: progress may feel slow at first, but every gentle session is a step toward freer, healthier movement. Your hips don’t need force—they need patience, breath, and regular care.
FAQs
1. Can yoga really help stiff hips after years of inactivity?
Yes. Yoga can be very effective for stiff hips, even after long periods of inactivity. The key is to start with gentle, supported poses and practice consistently. Improvement may be gradual, but many people regain noticeable mobility over time.
2. How often should I do yoga for hip mobility?
For best results, aim for 3–5 sessions per week, even if each session is only 10–15 minutes. Daily gentle movement can be especially helpful if your hips are very stiff.
3. What if I feel pain in the front of my hip during yoga?
A mild stretch is normal, but sharp or pinching pain is not. This may mean the angle isn’t right, you’re going too deep, or the hip joint is being compressed. Back off, reduce range of motion, use props, or try a gentler variation.
4. Which yoga pose is best for tight hips from sitting?
Low Lunge is one of the best poses because it stretches the hip flexors, which often tighten from prolonged sitting. Figure Four and Bound Angle Pose are also excellent.
5. Is it okay to do hip-opening yoga every day?
Yes, as long as the practice is gentle and you’re not forcing stretches. Daily light mobility work is often beneficial, especially when recovering from stiffness.
6. Can tight hips cause lower back pain?
Absolutely. When the hips don’t move well, the lower back often compensates. This can lead to strain, stiffness, or discomfort. Improving hip mobility may help reduce some forms of lower back pain.
7. Should beginners avoid Pigeon Pose?
If you’re very stiff or have knee sensitivity, it’s better to start with Reclined Figure Four instead of full Pigeon Pose. It provides a similar stretch with less pressure on the joints.